

How To Draw A Suit And Tie
This 8 step tutorial shows how to draw the jacket of a conform with detailed just simple illustrated examples and easy to follow explanations.
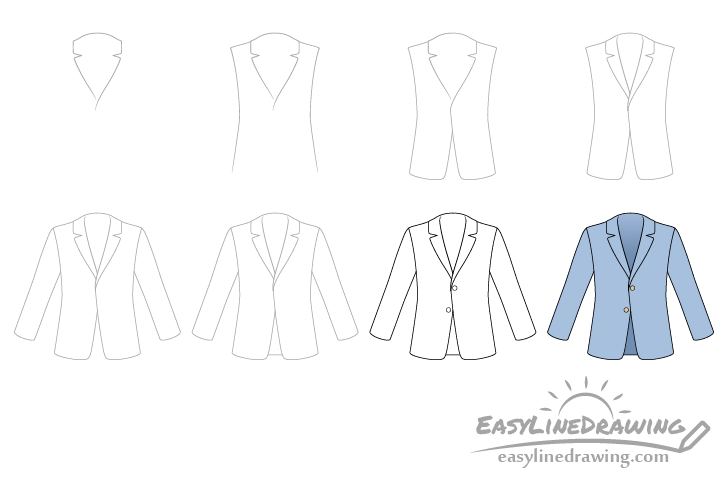
The jacket in this example has a fairly standard two-button design. Y'all can see a preview of the drawing stages for information technology in the image above.
First the tutorial in pencil and make light lines that are easy to erase in instance you brand a mistake. You lot tin can darken them afterward on with a blackness pen or marking.
Step i – Draw the Outline of the Suit'south Lapel

Begin the drawing with a quick outline of the lapel (the collar) of the jacket. Position it towards the top of your drawing area and then that you have plenty of room for the rest of the jacket beneath.
Step 2 – Draw the Sides of the Chief Torso

Going downwardly from the lapel add the shoulders then the sides.
Draw each side curving inwards towards the eye of the jacket equally shown in the example.
Footstep three – Draw the Bottom the Primary Body
Down form the sides add together the bottom portion followed by the inner function where the jacket will be button up. This should connect with the lapel on one of the sides.
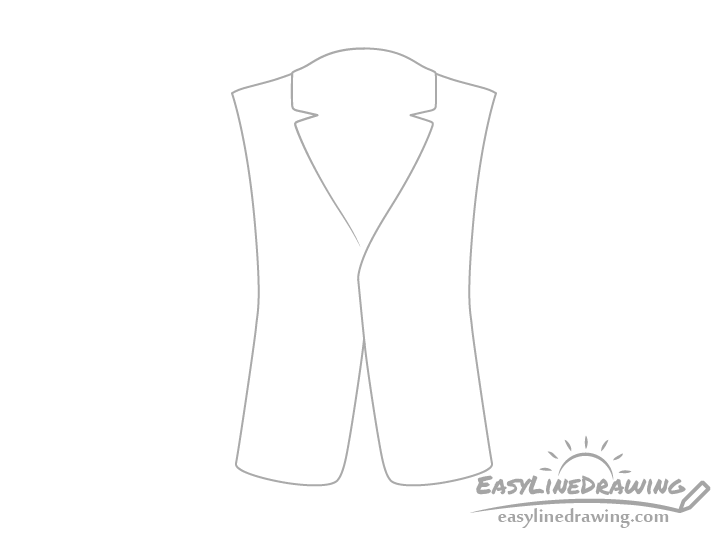
Step 4 – Depict the Inner Part of the Lapel
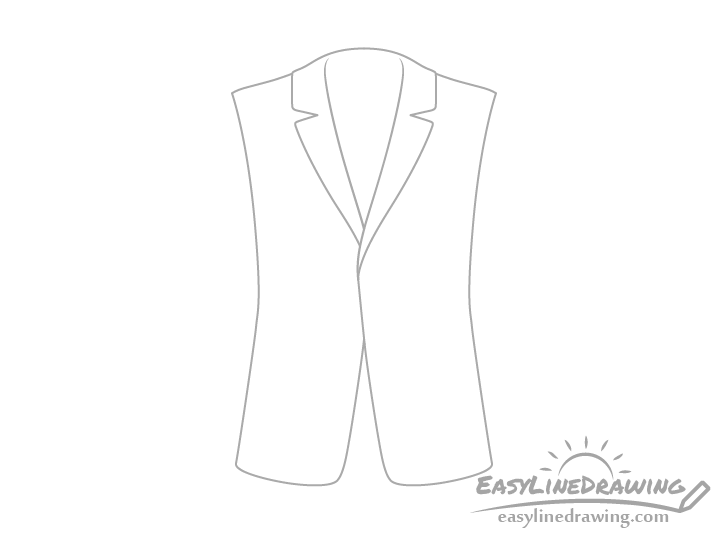
Describe the inner part of the lapel (the neck opening) to get something that pretty much looks like a vest.
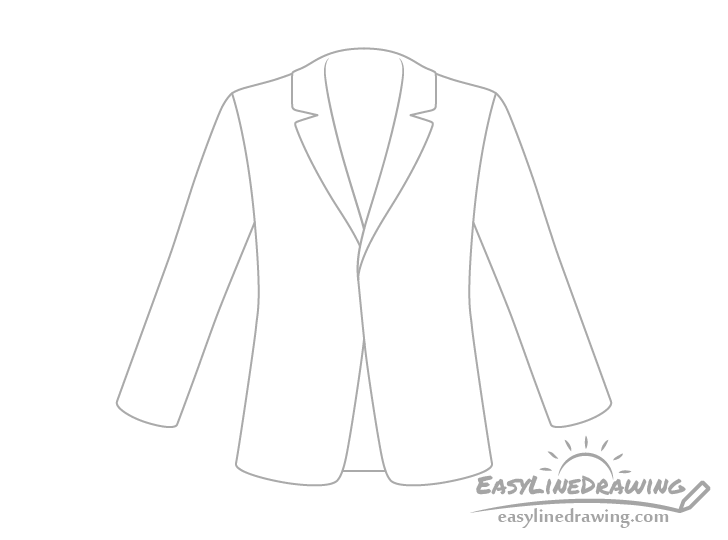
Step 5 – Describe the Sleeves

Coming out of each side of the "belong" add the sleeves. Make these slightly shorter than the primary trunk.
Footstep 6 – Describe the Back
For this simple step add a line towards the bottom of the jacket to show information technology'south dorsum/inner side.
Pace seven – Describe the Buttons & Terminate the Line Cartoon
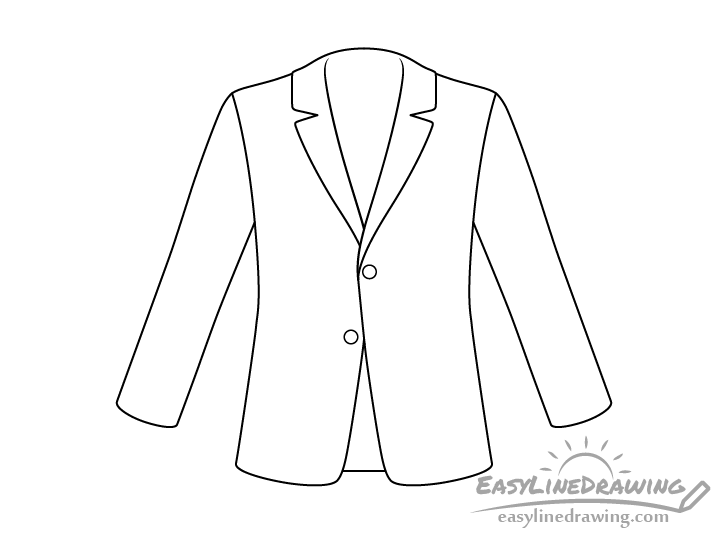
Finally add a pair of buttons with one just below the lapel and the other slightly lower down. Simply make these round in shape.
In one case washed drawing the buttons you can trace over your lines with a black pen or marker. If you don't have 1 handy you can simply darken them with the pencil. Just be sure y'all are happy with the fashion your drawing looks before doing so.
Step 8 – Color the Suit
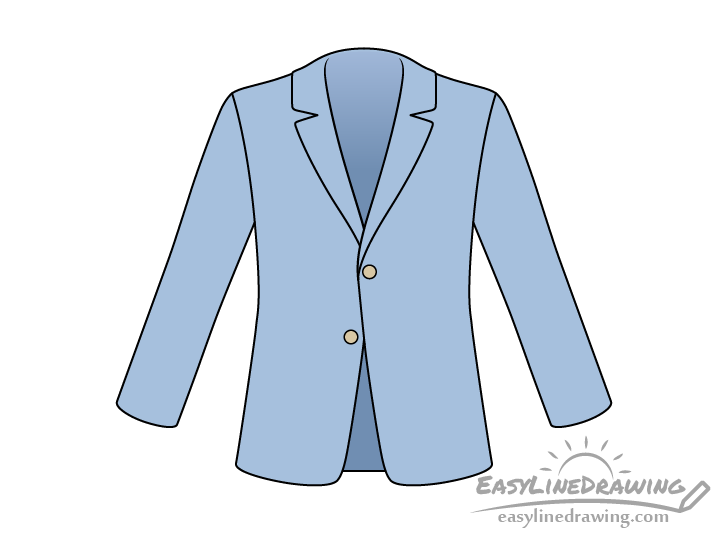
To color the conform yous tin can use any colors that are appropriate for such habiliment. In this example it volition exist blue with a picayune bit of grey and the buttons will be grayness with a chip of orange.
The inner role of jacket will also be slightly darker with a dark to light transition at the meridian (neck area).
An piece of cake way to get these colors and gradients is past using colored pencils. For example you tin can become the darker blue by pressing slightly harder on one and/or as well by lightly going over information technology with a regular pencil.
Conclusion
This tutorial shows how to describe a common looking two-button jacket. It's design is non especially complex and if you simply follow the provided steps yous should hopefully get a fairly nice looking drawing.
If y'all've found this tutorial helpful and would like to later effort a few more like it also see the following:
- How to Draw a Scarf Stride by Step
- How to Describe a Bow Tie Step past Step
- How to Draw a Necktie Step by Stride
- How to Draw a Dress Step by Stride
Source: https://www.easylinedrawing.com/how-to-draw-a-suit-step-by-step/
0 Response to "How To Draw A Suit And Tie"
Post a Comment